#HandsOnTalend – Integration Cloud – Getting Started
Getting started on a new product can sometimes seem daunting but Talend Integration Cloud makes it seamless. The platform, now in version 7, provides an easy to use and understandable interface.
Talend is a household name when it comes to ETL/ELT and Integrations, and Integration Cloud reinforces it. Integration Cloud contains a number of different components to it:

1) Talend Management Console
The Talend Management Console is a web-based application centralising the management and administration of your Integration Cloud and also centralises the users’ role management and access rights to your projects and the scheduling and monitoring of Jobs. Within the Management Console is also where you create Projects to get started.
 2) Integration Cloud
This is the core product of the platform. Within it you manage the processes (jobs) as well as manage how and where they run.
Within Integration Cloud you can also create and assign workspaces and environments. The User Interface assists with the promotion of data integration workflows and further promotes the use of a continuous integration Pipeline.
 3) Talend Data Preparation
The Data Preparation platform combines intuitive self-service data preparation and data curation tools within an easy to use and understand interface. Arguably the most useful feature is the ability to mask data, especially useful when it comes to Personal Identifiable Information (PII).
 4) Talend Data Stewardship
Data stewardship is the process of managing the lifecycle of data from curation to retirement. Data stewardship is about defining and maintaining data models, documenting the data, cleansing the data, and defining the rules and policies. It enables the implementation of well-defined data governance processes covering several activities including monitoring, reconciliation, refining, deduplication, cleansing and aggregation to help deliver quality data to applications and end users.
As you can see, the primary purpose of the cloud portal, is almost purely management, so the question you may be asking yourself is, how do I develop jobs? For this, you need to have Talend Studio for Cloud!

Talend Studio for Cloud is your authoring interface. Within the Studio, you would create your jobs to then publish in the cloud.
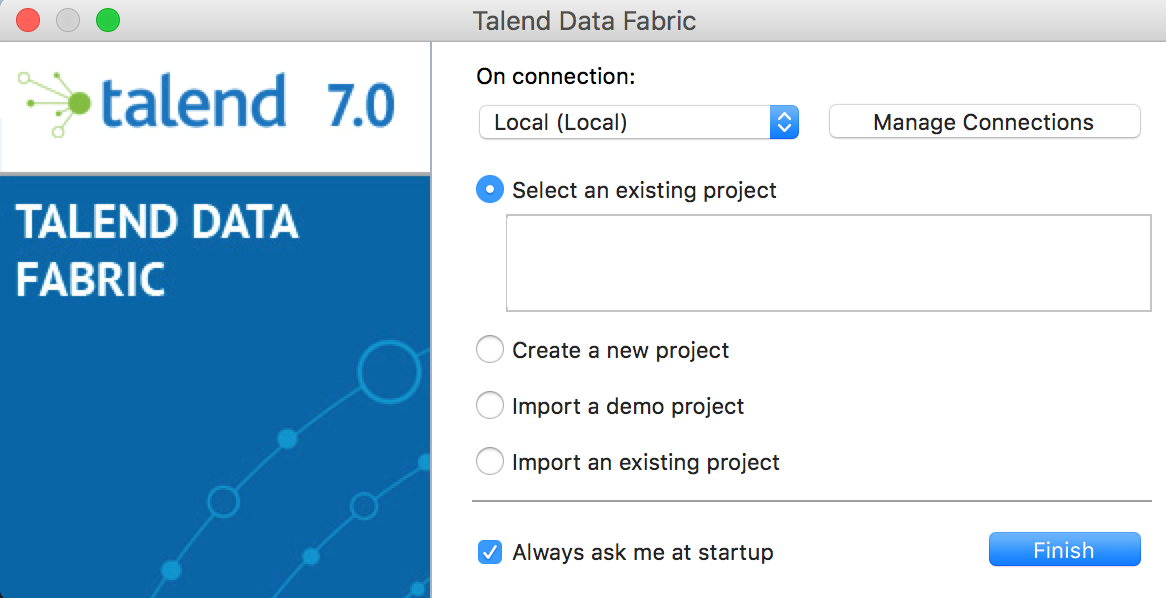
Whereas the Talend Integration Cloud already comes configured, you need to make sure you have Talend Studio connected to your Talend Integration Cloud Instance. To do this, once you have installed it and run it for the first time you would get this screen:

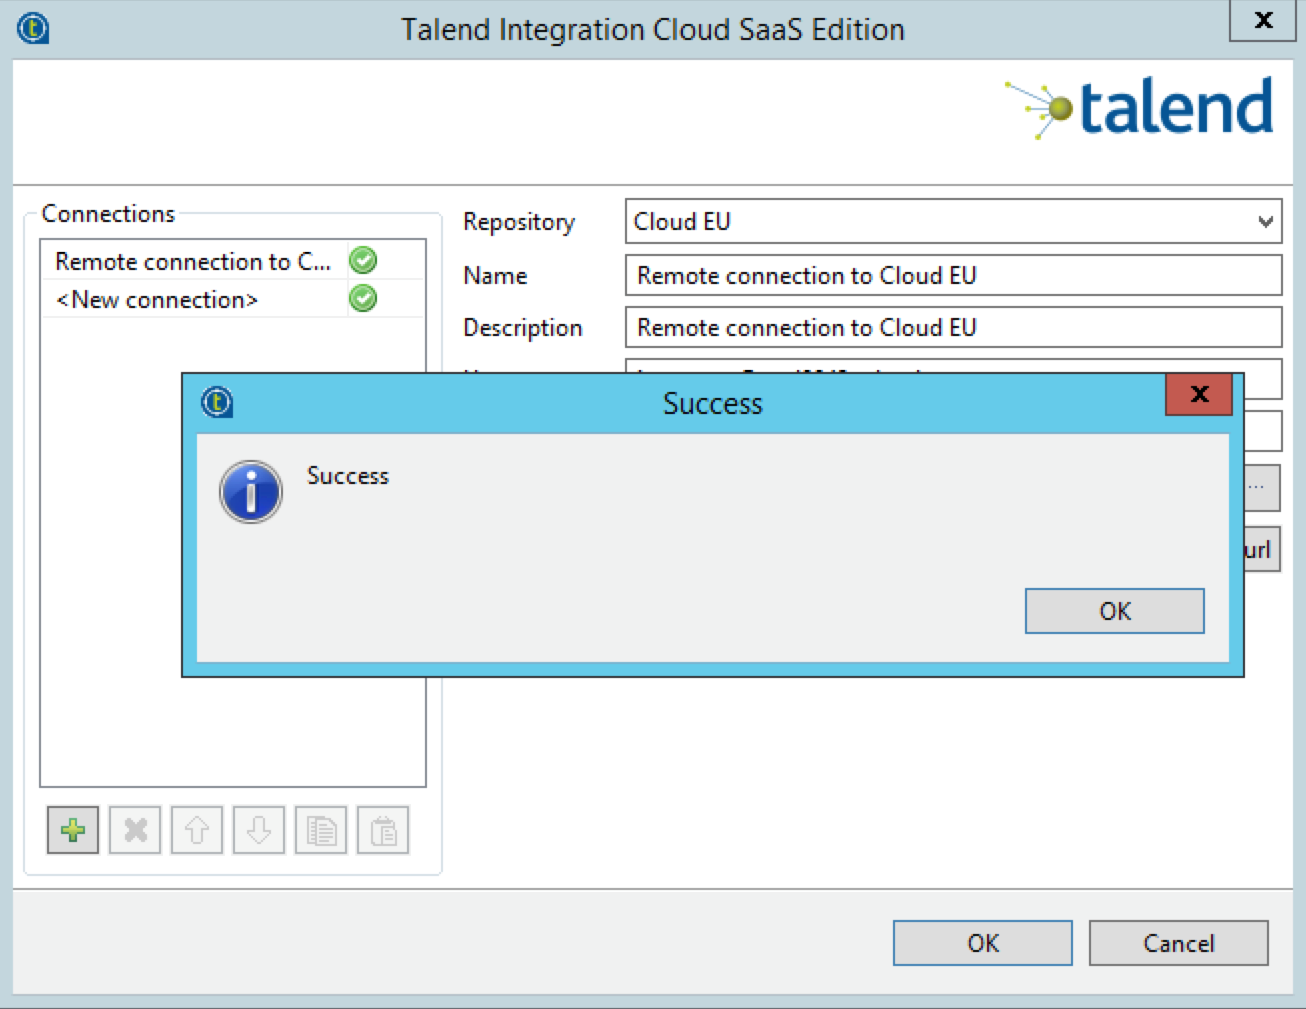
Here you would need to create the connection and link it with your Talend Integration Cloud. To do this, you must click on Manage Connections which takes you to this screen:

- Click on the Green Plus sign to create a new connection;
- Once you have done this, from the drop-down where it says Repository select Cloud EU;
- Make sure you add in your details as you had received them in the email from [email protected];
- Once you have filled it all in, click on Check url and you should have a confirmation that looks like this:

And with that notice, you are good to go, except, you are not really. Unsure what to do next and how to set up a project? Catch up with us next week, where we take you through Project creation in Talend Integration and creating your first Job in Talend Studio for Cloud.
